
Vegan Carry-On Packing System: Access, Food & Backup
Short answer: Build your carry-on in access order: documents first, then medication, communication, food backup, containers, power, and comfort. Keep the items needed during a delay or inspection reachable, verify current route rules, and test the system before departure instead of packing by category alone.
Updated 26 October 2026. Recheck airline, airport-security, customs, medication, liquid, and food rules for your exact route before travelling.
What you’ll find in this guide
Set the access order · Map the layers · Protect medication · Build the food bridge · Plan disruptions · Match the travel day · Read the FAQs
How should you organize a vegan carry-on?
Organize a vegan carry-on by access order, not by object category. Put identity and trip-critical documents in one protected layer, medication in a separate personal-access layer, food backups in a visible food layer, dietary cards in an easy-to-show sleeve, and empty containers where they can be inspected without unpacking everything. Keep charging items together and place comfort items below anything that affects safety or movement.
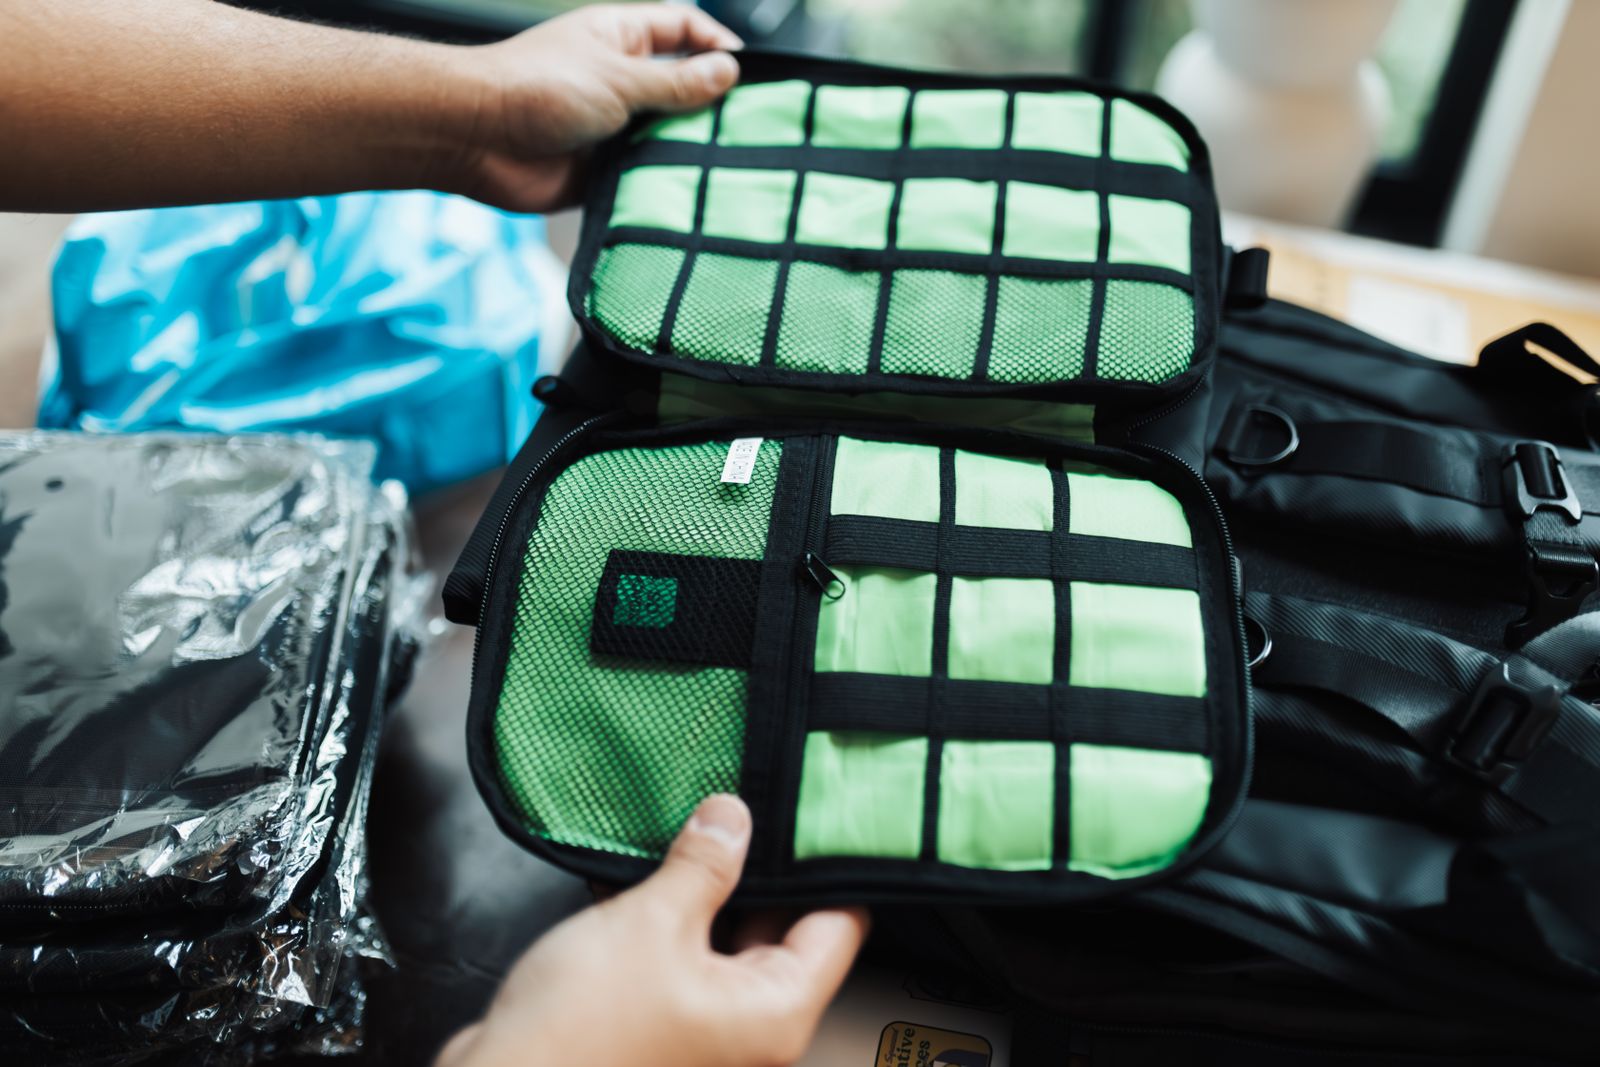
Featured image: Packing cubes in an open carry-on case. Photo: Bertelli Fotografia via Pexels.
A carry-on system should help you answer five questions quickly:
- Can I prove who I am and continue the journey?
- Can I explain my dietary needs clearly?
- Can I access medication or health information without delay?
- Can I bridge a short meal gap without relying on one airport or station?
- Can I present food, liquids, and containers for inspection without emptying the entire bag?
The system below is different from a long vegan packing list. It tells you where items belong, when they need to be reachable, and what happens when a connection, meal, room, or checkpoint changes.
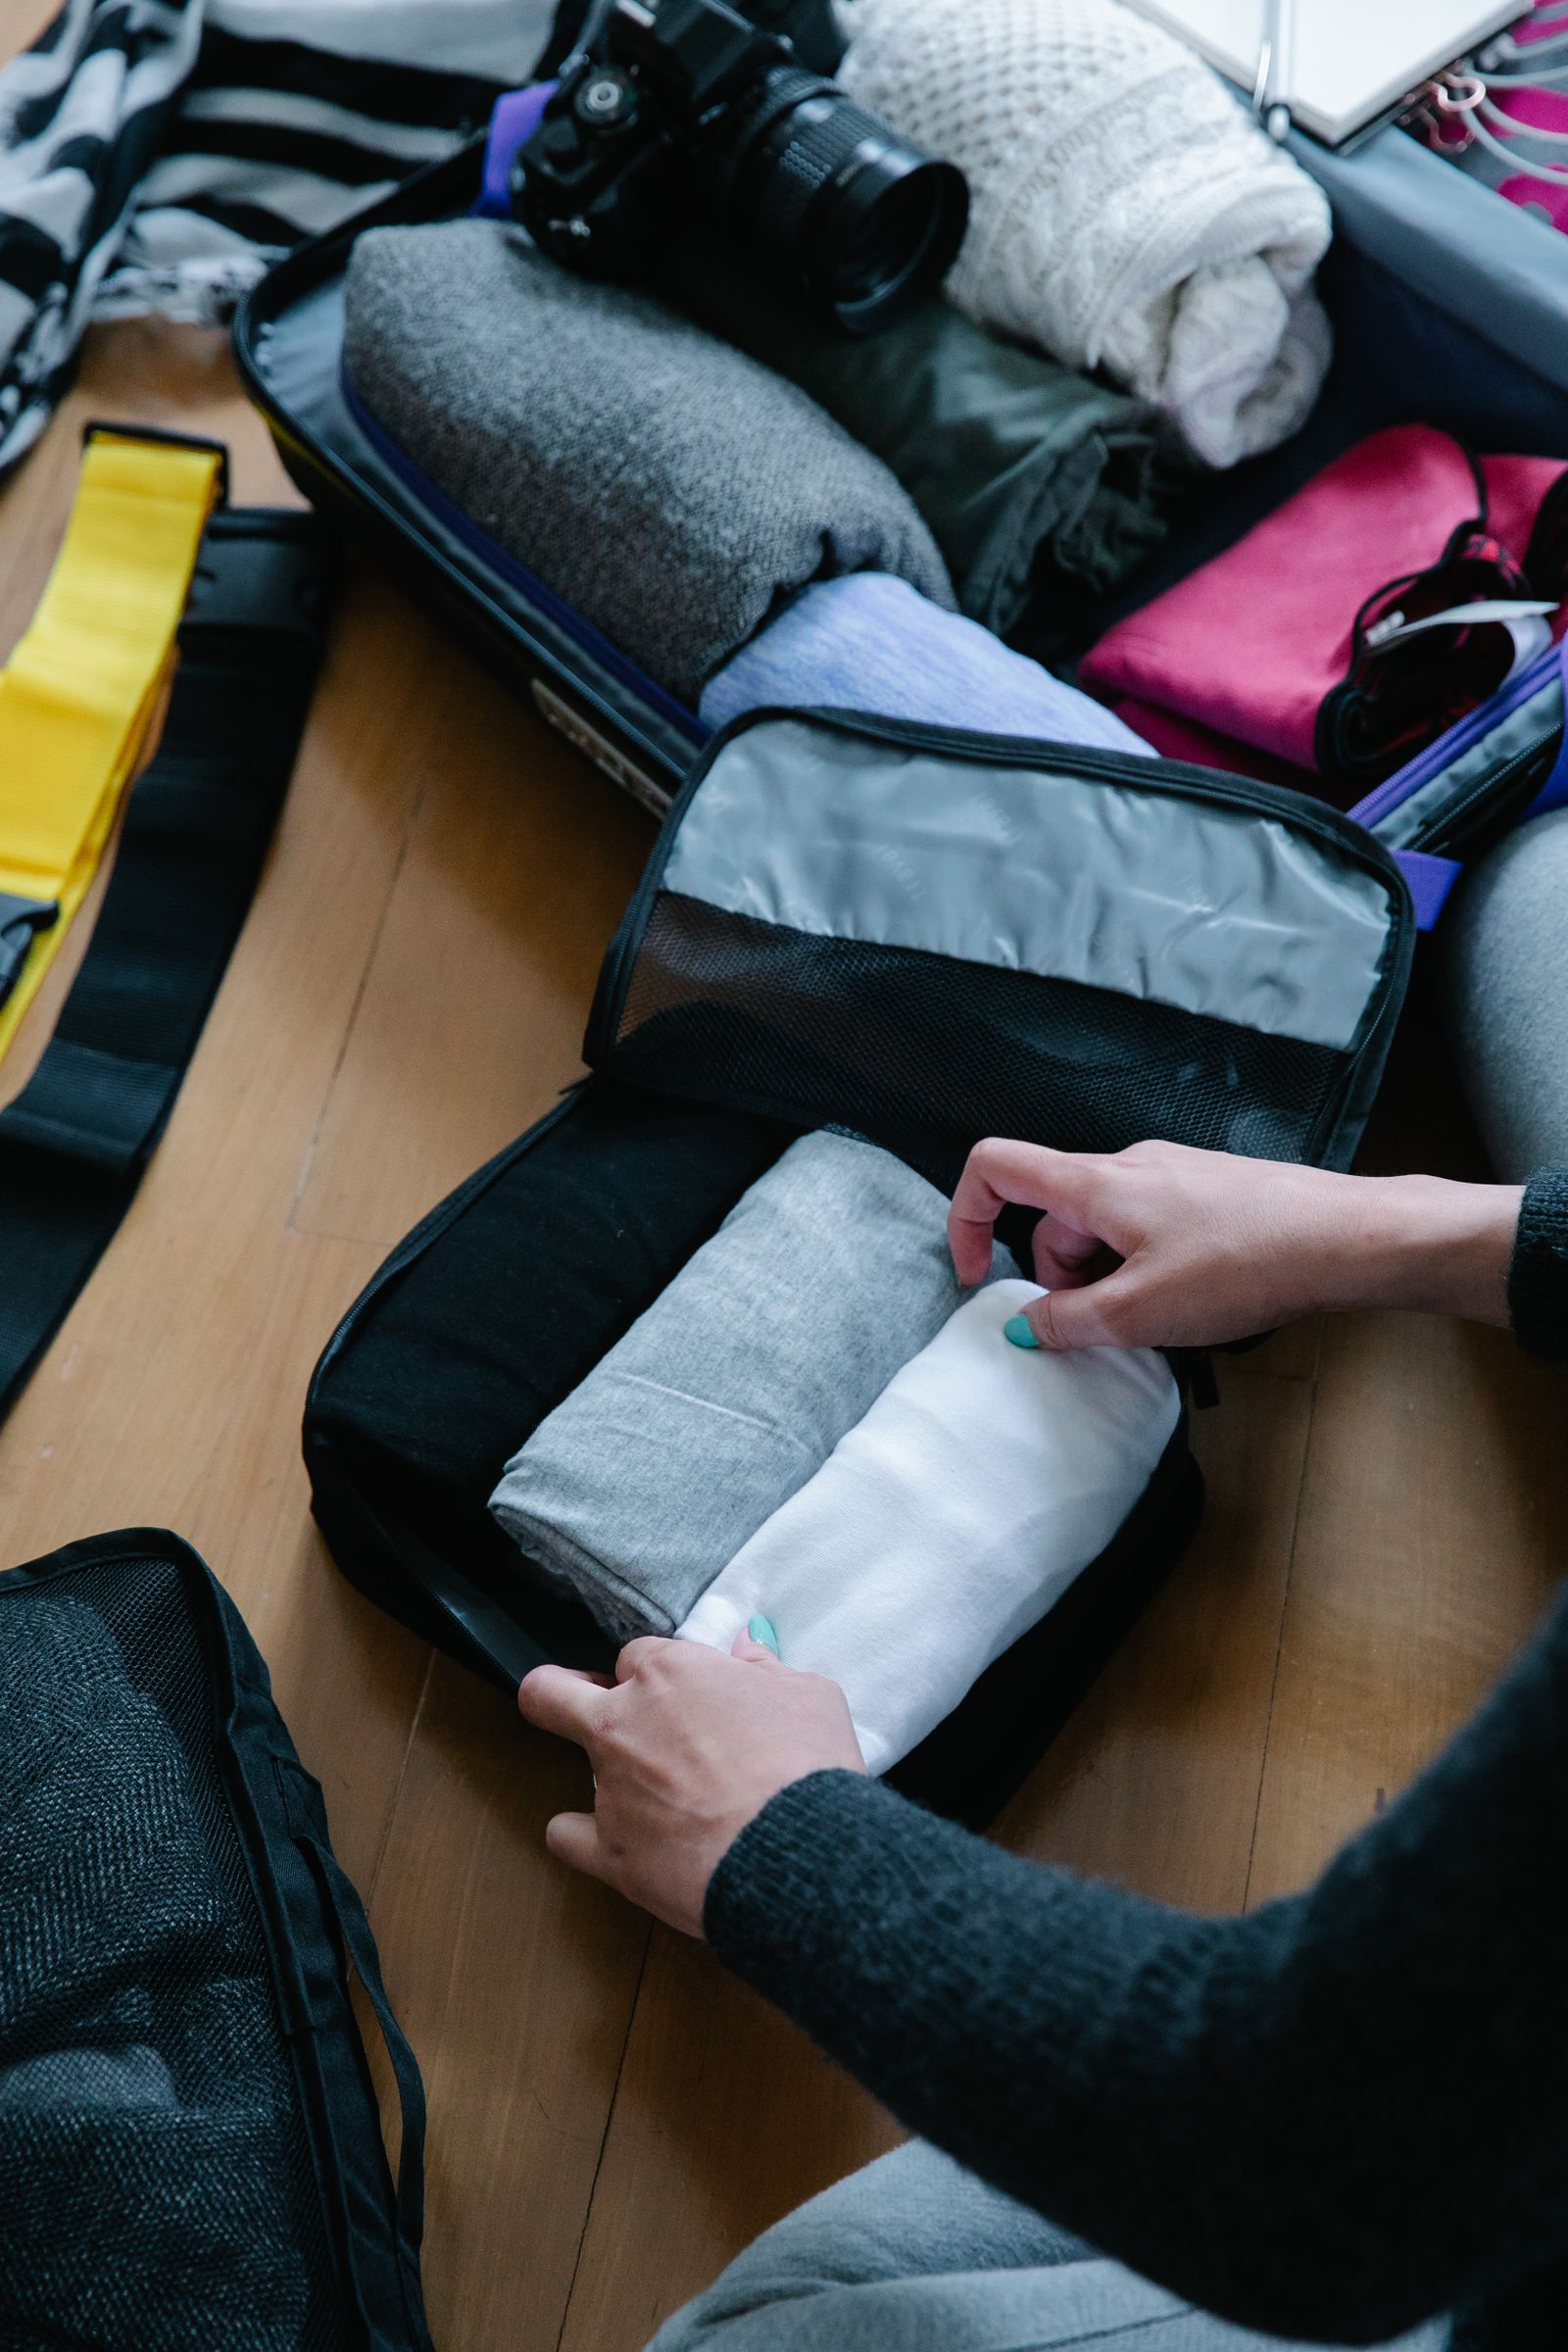
Image credit: Pexels source page. General planning illustration; verify current licensing and attribution requirements before publication.
The access-order map
This is an organization model, not a promise about what a specific carrier or checkpoint will allow. The airport and border authority for your route always controls.
Build one protected document layer
Documents let you move, identify yourself, confirm reservations, contact help, and explain a disruption. Keep the layer compact enough to carry on your person or in the most accessible pocket.
Separate identity from convenience
Use two zones:
- Identity: passport or ID, visa or permit documents where required, and anything that must remain protected.
- Trip reference: accommodation details, transport confirmations, insurance information, emergency contacts, and offline copies of essential details.
Do not rely on a single phone screen. A dead battery, damaged device, weak signal, or locked account can make digital-only access stressful. You do not need to print every reservation. Carry the minimum information that helps you explain where you are going and who to contact.
Use a retrieval sequence
Pack the identity document at the front of the sleeve, one current travel confirmation behind it, a small emergency-contact card, and secure digital backups stored offline. Review the date, destination, name spelling, and access requirements before departure. Keep documents away from loose food, liquids, coins, and unsealed toiletries.
Limit private-data exposure
A dietary card should not display your passport number. A hotel address does not need to share a sleeve with payment cards. Keep identity documents and dietary communication separate so you can show one without showing everything.
Make medication a personal-access layer
Medication needs a plan based on access, continuity, labeling, storage, and route-specific verification. Keep essential medication with you rather than in checked luggage, and follow the current guidance of the airport, airline, destination, and prescriber.
For each medicine or health item, ask:
- Access: Could I need it during transit or if checked luggage is delayed?
- Identification: Is it in original labeled packaging or otherwise easy to identify?
- Continuity: Do I have enough for the planned trip plus realistic delays?
- Conditions: Does it need temperature control, a prescription note, or special handling?
Do not change a dose, substitute a medicine, or ignore a storage instruction to make packing easier. If an ingredient or capsule shell concerns you, ask a pharmacist or clinician about safe alternatives. Health needs come before a cosmetic definition of veganism.
Design a food-backup bridge
Carry enough food to bridge a realistic delay, late arrival, missed special meal, or short route with limited options. The backup should not be a duplicate grocery shop.
Use the three-question rule
- When will I likely need it?
- Can I eat it without cooking or refrigeration?
- Can I legally carry it through the route and border?
Choose foods you already tolerate, that do not leak or crumble excessively, and that fit the expected temperature. Check allergens and cross-contact statements when medically relevant. Plant-based food is not automatically unrestricted across borders: nuts, seeds, fresh produce, grains, and other agricultural products may be controlled. Check the destination’s official rules and declare when required.
Use the best vegan travel snacks guide to build the reserve. Keep the food note with the food when a package’s ingredients, allergen details, or preparation method may need explanation.
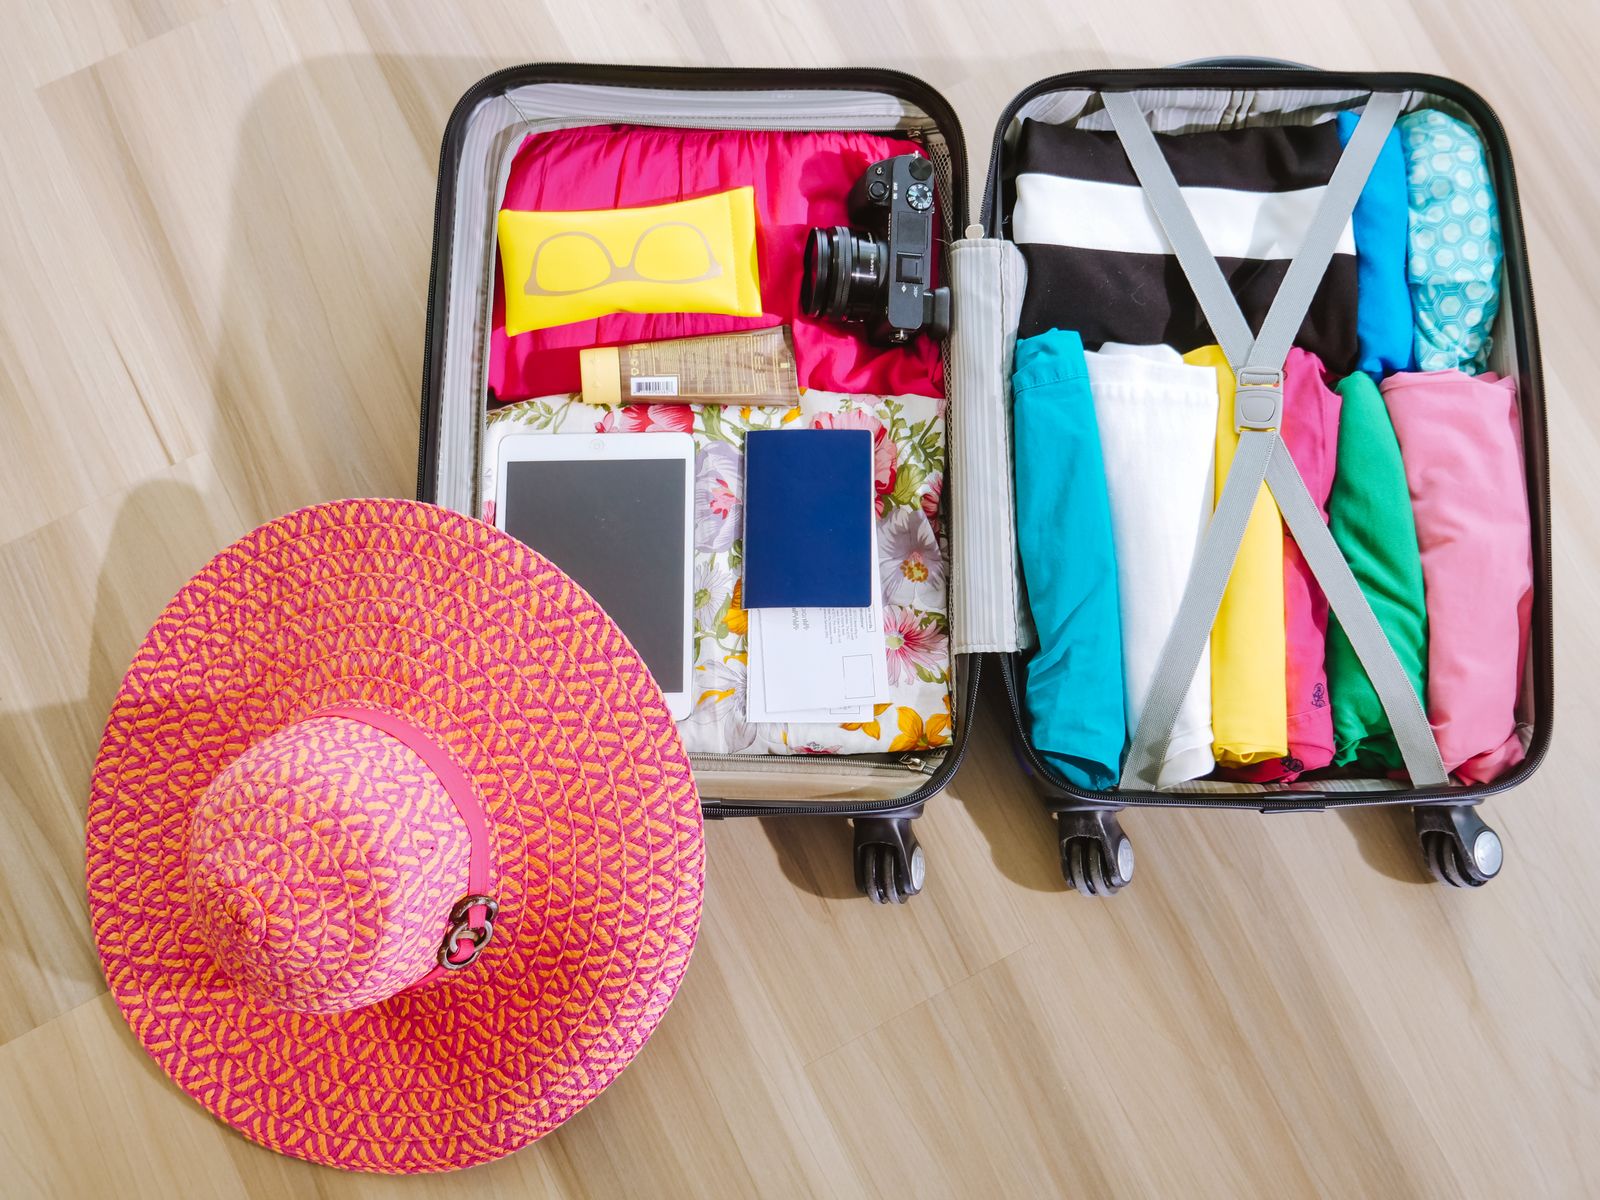
Image credit: Pexels source page. General travel-document illustration; verify current licensing and attribution requirements before publication.
Create communication cards that solve a real conversation
“Vegan” may not communicate hidden ingredients or local terms. Keep a printed card and an offline phone version. Create separate cards for different situations:
- Simple meal request: explains the ingredients you do not eat.
- Ingredient question: asks about dairy, egg, honey, stock, fish sauce, oyster sauce, and animal fat where relevant.
- Preparation question: asks whether the meal is cooked separately from meat or fish when cross-contact matters.
- Packaged-food check: lists the label terms you need to identify.
- Emergency explanation: gives a concise description for a clinic, pharmacy, or transport disruption.
Do not claim that a restaurant can guarantee allergy safety unless staff have confirmed the process. Use the vegan travel language cards guide for a more detailed communication setup.
Pack containers for access and inspection
Use the empty-container default
When practical, pack reusable bottles and food containers empty before security. An empty container is easier to inspect and does not create an avoidable liquid or food question. Fill the bottle after screening only where the water source is appropriate and the airport permits it.
Keep clean and used items apart
Use one dry pouch for clean containers and utensils and another leak-resistant pouch for anything used or wet. A container does not keep perishable food safe indefinitely, so pair it with suitable cooling and time controls. Wash and dry items at the first practical opportunity.
Choose tools that earn their space
A spoon often solves more carry-on meals than a full metal cutlery set. Sharp or knife-like components may create security questions. Obtain a knife at the destination or confirm that accommodation provides one rather than packing it in your cabin bag without checking.
Power and charging layer
Your phone may hold tickets, maps, translations, payment access, and emergency contacts. Download important information before leaving, keep one charging cable accessible, and save a paper backup for the most critical details.
Power bank
Power banks contain lithium batteries and are subject to transport rules. Check the airline and airport’s current guidance before packing one, and follow the required carry-on location. Do not travel with a damaged, swollen, or unmarked battery. A power bank is useful only if it is charged and paired with the correct cable.
Adapter and voltage
An adapter changes plug shape; it does not automatically convert voltage. Check the label on chargers, hair tools, and appliances. Carry only the cables and adapters that fit your actual devices, and test them at home.
What belongs in the personal item?
The personal item should hold anything you may need during transit, during a delay, or if checked baggage is separated. Use it for identity documents, medication, phone, charging, communication cards, a small food bridge, empty bottle, essential toiletries, and one comfort layer. Put bulky reserve items and non-urgent clothing in the larger carry-on only when the carrier allows that bag.
Do not place all food, all medication, or all documents in one failure point. Split only when the split improves resilience and does not make inspection or retrieval confusing. The goal is not maximum redundancy. It is continued access to essentials.
The disruption plan
If the meal fails
Use the food bridge, ask the communication card question, and identify the next verified shop or meal rather than assuming the first alternative is suitable.
If the connection changes
Move the phone, documents, medication, food, and charger to the immediate layer. Save the updated itinerary offline when possible and keep the rest of the bag closed.
If the room changes
Recheck refrigerator, kettle, microwave, water, and local food access before opening perishable items. Use your room-meal backup when equipment is missing.
If security or customs asks a question
Present the original label, official documentation, or current source where relevant. Do not conceal food, medication, powders, or batteries. Rules differ by route, and officers have final authority at the checkpoint.
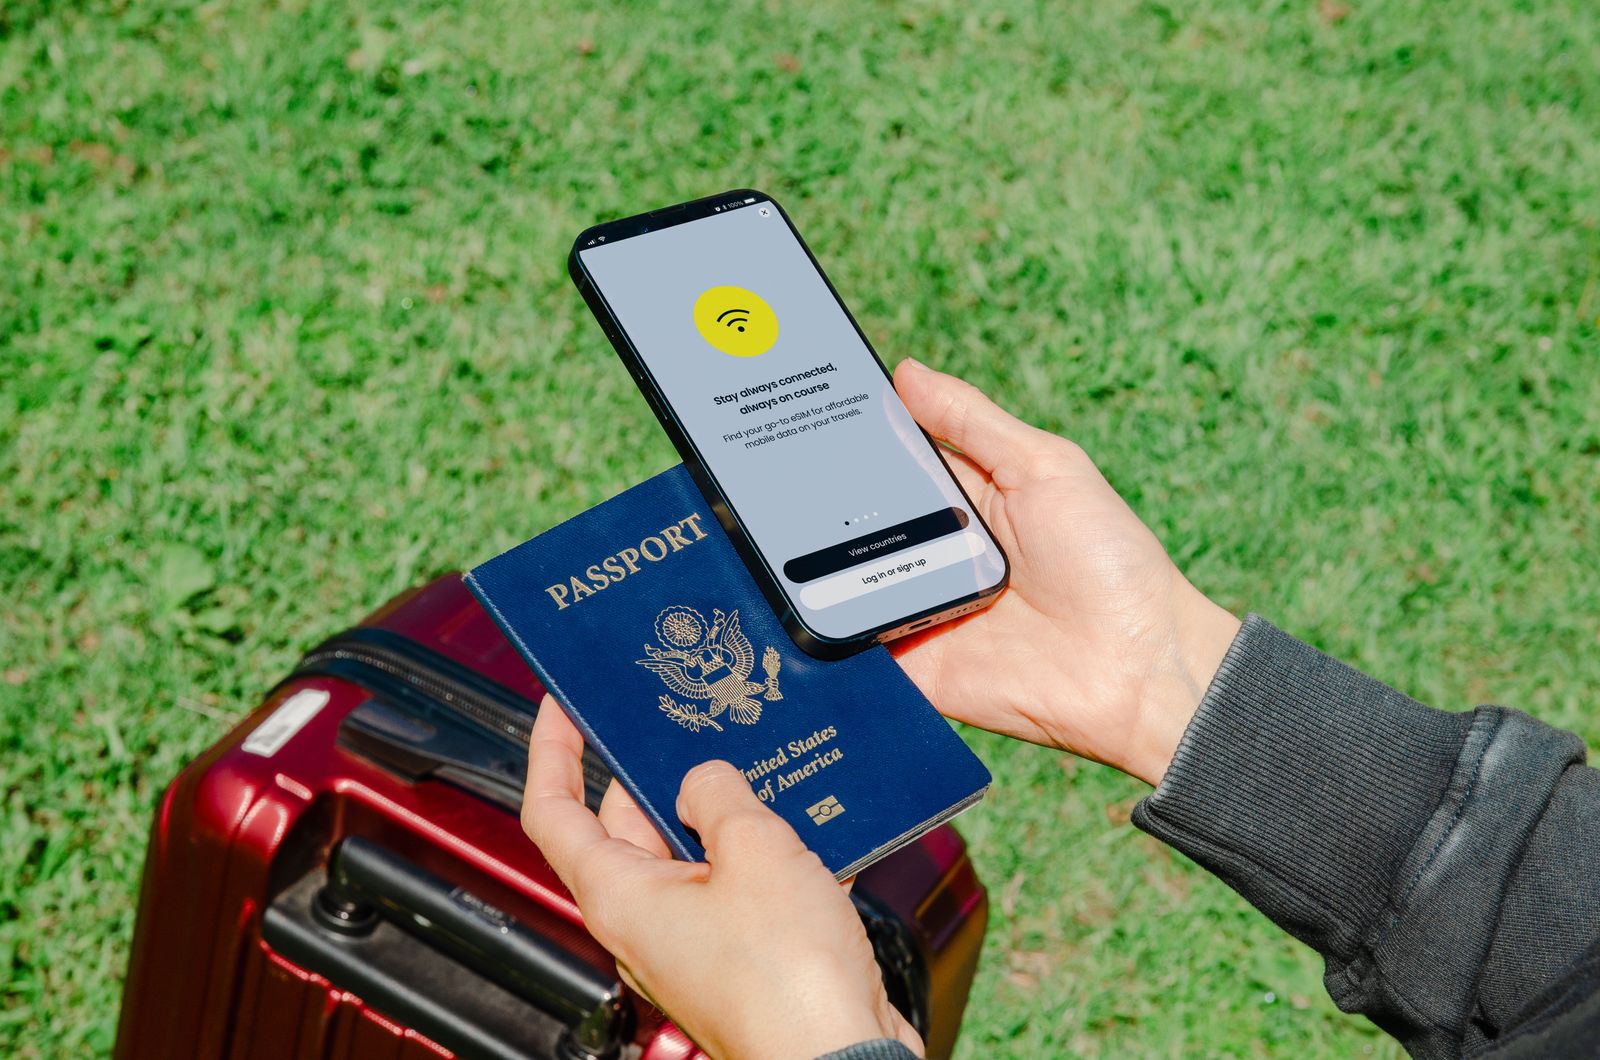
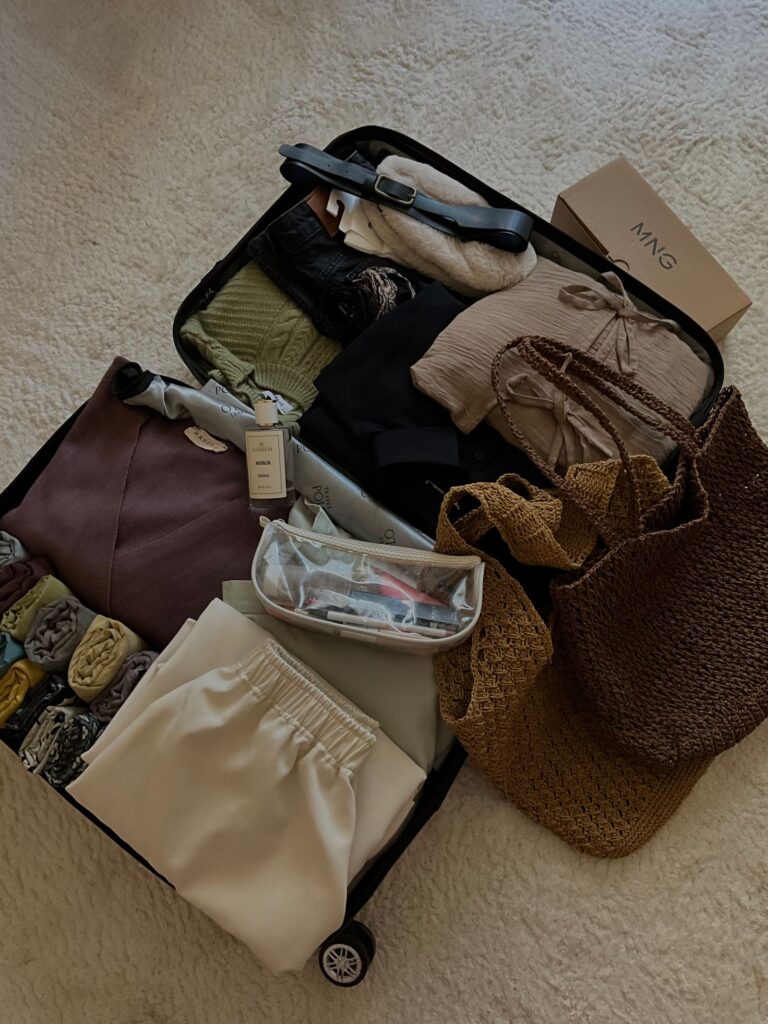
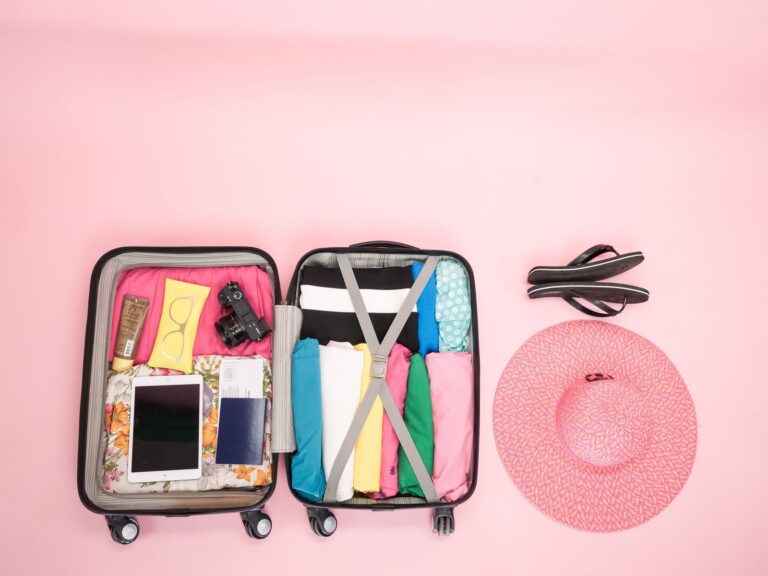
Image credit: Pexels source page. General packing illustration; verify current licensing and attribution requirements before publication.
The ten-minute final reset
- Put identity documents in the move layer.
- Put medication in the protect layer.
- Put printed and digital communication cards in the explain layer.
- Check food labels, quantities, and border restrictions.
- Pack food and containers clean, dry, and inspectable.
- Empty bottles before security when practical.
- Charge phone and power bank; pack the correct cable.
- Confirm the adapter and device voltage.
- Download tickets, maps, translations, and emergency contacts.
- Test that you can reach the first five layers without unpacking the whole bag.
Choose the bag layout before the accessories
A carry-on system works best when the bag supports the access order. Look for a main compartment that opens widely enough to inspect, one quick-access pocket for documents, a personal-item space for medication and electronics, and a shape that fits the carrier’s current size limit. A bag with many tiny pockets can look organized while making important items hard to find.
Before buying a new bag, measure the packed dimensions rather than trusting a product label alone. Wheels, handles, exterior pockets, and bulging fabric can affect the final size. Check the airline or carrier for the current cabin and personal-item limits on the exact ticket, especially when a regional connection is involved.
Weight, materials, and repairability
Vegan materials solve the animal-material question only when the exact product is documented. Check leather, suede, wool, silk, down, fur, horn, shell, and animal-derived trims. Ask about adhesives or mixed-material components when that level of certainty matters. A brand-wide statement may not cover every model.
Also compare empty weight, seam quality, zippers, cleanability, weather protection, repair options, and whether the bag can be carried comfortably for a long connection. A lighter bag that fails after one trip is not automatically a better choice than a slightly heavier durable bag. Do not present recycled content, ethical manufacturing, or sustainability claims as proven unless the current source supports them.
Carry-on systems for different travel days
Flight day
Keep documents, medication, communication, phone, charger, and a small food bridge in the personal item. Pack liquids and foods so they can be removed or explained without disturbing the entire bag. Check the current airport rule for liquids, powders, batteries, and food before leaving.
Train or bus day
Emphasize snacks, water, a container, charging, and a light layer. You may have fewer formal checkpoints but less predictable food access and limited space to reorganize. Keep the food bridge near the top.
Arrival day
Put accommodation details, phone power, medication, toiletries, and one simple meal within immediate reach. If your checked bag is delayed, this layer should help you get through the first night without opening every compartment.
Self-catering stay
Carry only tools that the accommodation does not provide and that you will actually use. Confirm kitchen equipment before adding a blender, knife, or cooking appliance. Buying a simple replacement locally may be easier than transporting a bulky item.
What to leave out
Leave out duplicate chargers, untested food, full-size liquids that can be bought after arrival, sharp tools without a confirmed need, and gadgets that solve no defined problem. A carry-on becomes safer and easier to inspect when every item has a job. Put optional comfort items below documents, medication, communication, food, and power so a rushed checkpoint or changed connection does not disturb the essentials.
At the end of the trip, note what you never used, what was difficult to reach, and what you wished you had. Update the system for the next route instead of adding items automatically. This turns a packing list into a repeatable process.
Frequently Asked Questions
What is the most important part of a vegan carry-on system?
Access order. Documents, medication, communication, food, and power should be reachable in the order a travel day is likely to need them.
How much vegan backup food should I pack?
Enough for a realistic delay, late arrival, or missed meal. Keep it compatible with temperature, allergies, customs, and your ability to eat it without preparation.
Should medication be packed with vegan snacks?
No. Keep medication in a separate, identifiable personal-access layer. This reduces contamination, retrieval, and inspection confusion.
Do vegan travelers need communication cards?
Not every traveler needs one, but a printed and offline card is useful when language, noise, stress, or unfamiliar ingredients could make a one-word “vegan” request unclear.
Should reusable food containers be empty?
When practical, yes. Empty containers are easier to inspect and do not create avoidable liquid or food questions. Fill them only when the route and food are appropriate.
How can I keep a carry-on organized during a long trip?
Restore the same layers at the end of every travel day. Keep clean and used items separate, return chargers to one pouch, and replace food immediately after using the backup.
One Comment
Comments are closed.